

Have you noticed your hamster getting bored with the usual store-bought toys? Try making your own toys from items you already have at home. These DIY toys give your pet a chance to explore and play while keeping their mind and body active without breaking the bank.
In this guide, we'll show you how to turn simple items like cardboard and toilet paper rolls into fun toys for your hamster. It’s a crafty and affordable way to keep your little buddy happy and engaged.
DIY Hamster Toys Essentials: Quick and Budget-Friendly Enrichment
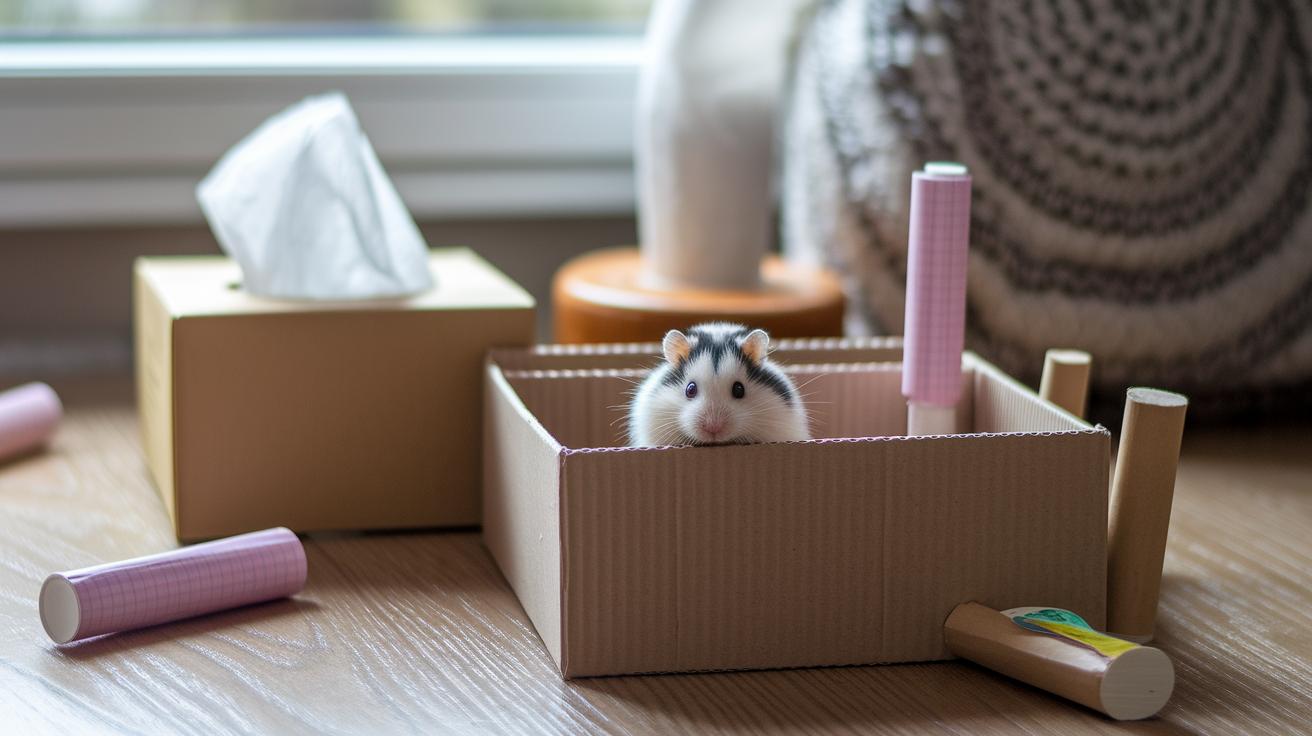
Keep your hamster busy and happy with fun, homemade toys you can make from items around your house. Simple treats like cardboard, empty tissue boxes, and kitchen roll tubes can give your pet much-needed mental and physical stimulation. Many pet owners say even a small, self-made maze can boost a hamster's energy and help lower stress. These projects are affordable and match your pet's natural urge to explore and burrow.
DIY toys let you easily customize your pet's play space using things you already have. They encourage natural behaviors like foraging and nesting. For example, a tissue box turned into a maze sparks your pet's curiosity, while a toilet roll tube playground gives your hamster tunnel fun.
Here are some ideas:
- Tissue box maze
- Toilet roll tube playground
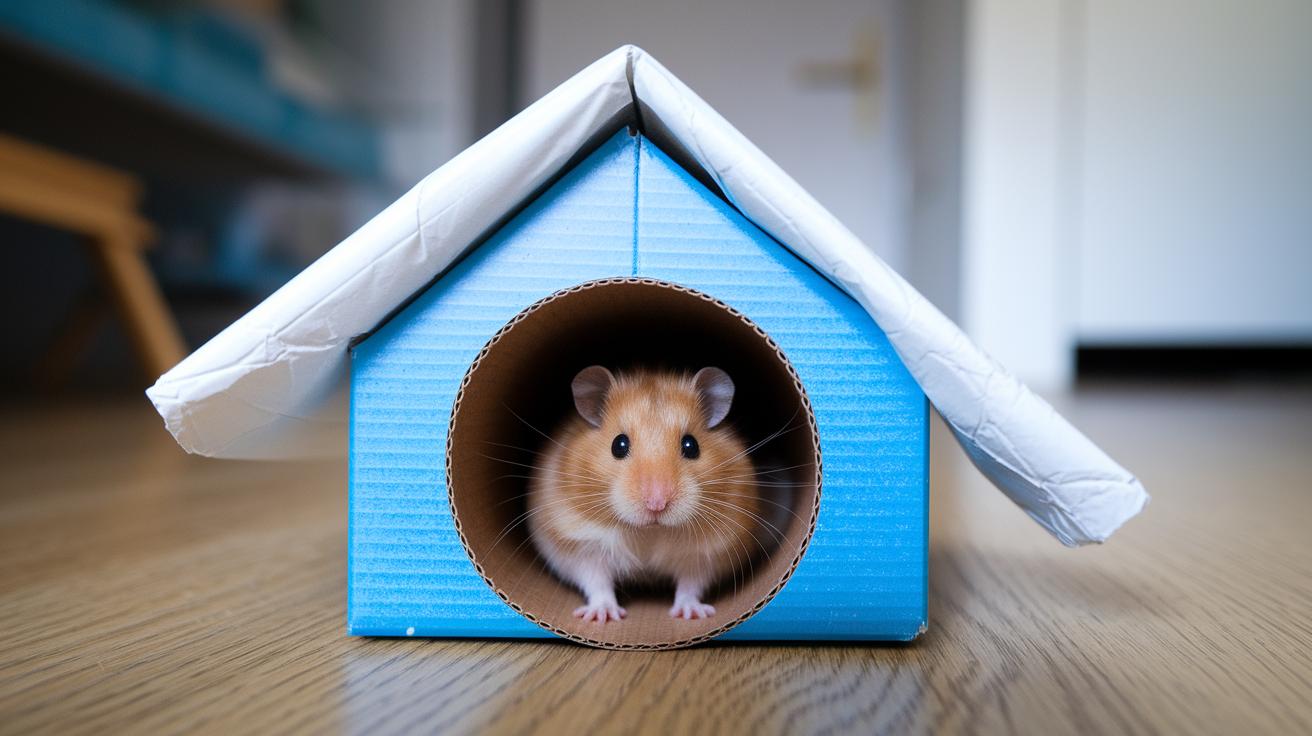
- Cardboard platforms and shelves
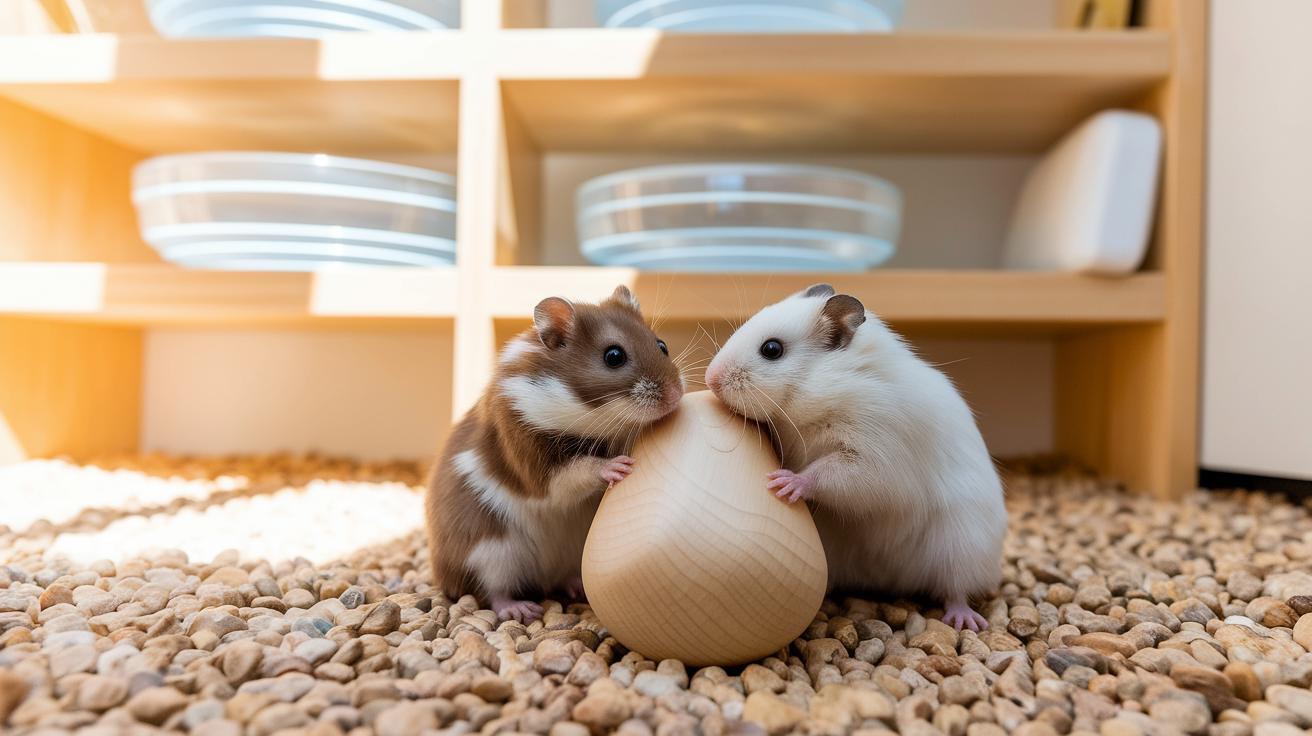
- Coconut hideaway
- Forage box
These low-cost ideas make it simple to create ever-changing spaces for your hamster to explore, dig, and hide. You can swap out worn toys or try new setups by moving tubes and stacking cardboard platforms. This hands-on approach keeps your pet alert and builds a safer, more engaging habitat that feels just like home.
How to Build a Tissue Box Maze and Tube Playground for Hamsters
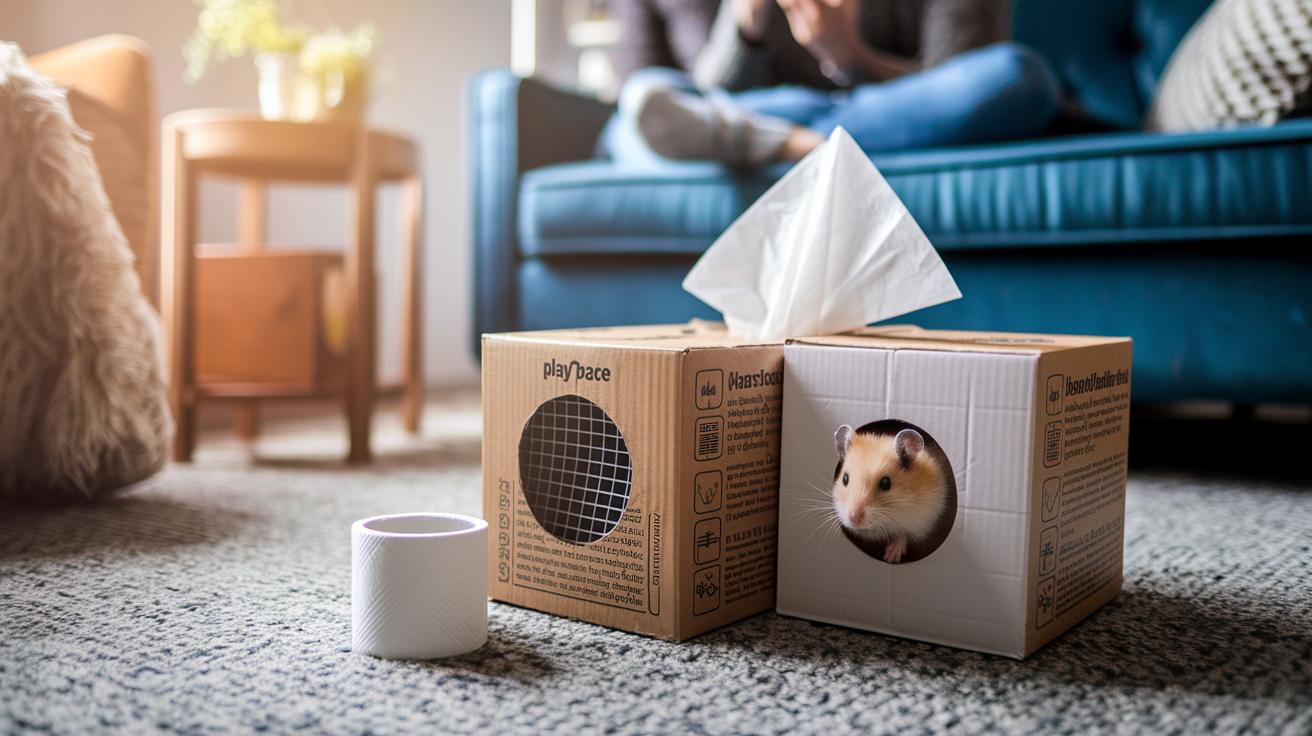
If you’re looking for a fun and easy project, try creating a maze and play space for your hamster using a couple of empty Cushelle tissue boxes and toilet paper tubes. This simple setup gives your pet a chance to explore and move around while you save a bit of cash.
At a glance:
- Materials: 2 empty Cushelle tissue boxes and 3 toilet paper tubes.
- Tools: A hot glue gun with pet-safe glue, scissors or a craft knife, and optionally, non-toxic acrylic paint.
- Benefits: Encourages exercise and sparks natural exploration.
Why we tested it: We wanted to see if you could turn everyday items into a fun and safe play area for your hamster without spending too much or using complicated parts.
Pros:
- Budget-friendly and easy to customize.
- Uses safe, everyday items.
- Encourages both physical and mental activity.
Cons:
- Requires careful assembly and supervision at first.
- May not hold up for hamsters who chew aggressively.
Who it’s best for: This DIY maze is great for small to medium-sized hamsters and pet owners who enjoy crafting. If your pet tends to be rough on toys, you might want to monitor its use closely.
How we tested it: We followed each step to build the maze and observed how a hamster explored the created tunnels. We also tried rearranging tube placements after a few days to see if a fresh layout would spark new interest.
Assembly Steps:
- Cut off the front panels of both tissue boxes neatly to form openings. This allows your hamster to peek inside.
- Place the two boxes side by side with the openings facing outward to help guide your pet.
- Glue the boxes together using the pet-safe hot glue along their touching edges. Hold them in place until the glue sets.
- Insert the three toilet paper tubes at different angles. Place one tube along a side wall and two tubes at the front to form tunnels that mimic natural burrows.
- Let the structure dry completely before you put it in your pet’s play area.
- If you like, decorate the maze with non-toxic acrylic paint. This not only adds color but also gives extra texture for your hamster to explore.
Tip: After a few days, you can remove and reposition the tubes in different directions. This small tweak can make the maze feel new and keep your pet curious.
By turning simple household items into a play area, you create a dynamic and safe environment that keeps your hamster active and engaged. Enjoy the project and have fun watching your pet explore its new maze!
Crafting a Coconut Hideaway and Forage Box for Natural Exploration
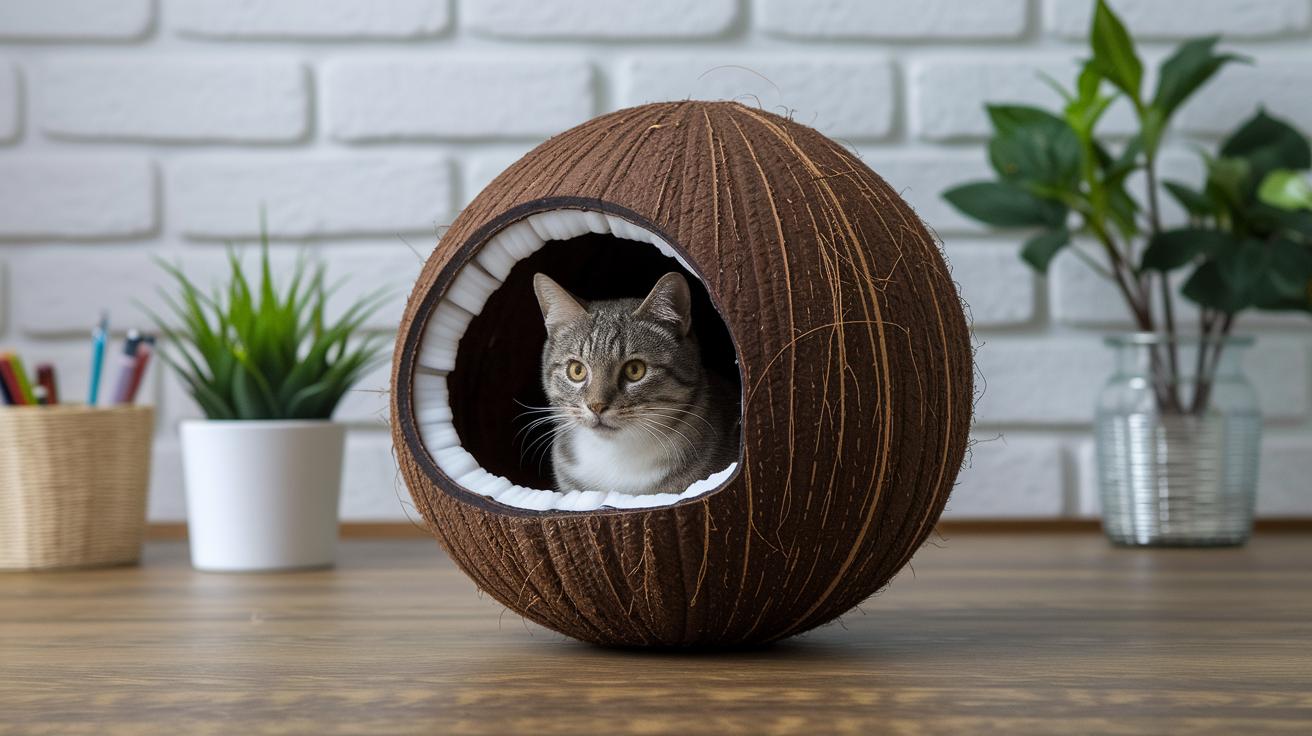
Coconut Hideaway
Here’s a simple project to make a safe retreat for your pet. Gather one empty coconut half, some sandpaper, and pet-safe glue. First, wash the coconut shell with water and a soft cloth to remove any dirt. Next, lightly sand the edges so there are no rough spots that might hurt your pet. Check the shell closely for any loose fibers. If you see bits coming off, dab a small amount of pet-safe glue to secure them. The goal is to create a cozy little cave where your pet can curl up and feel secure after a day of exploring.
Forage Box
Create an exciting space by following these steps:
- Line a shallow cardboard box with bedding that is safe for your hamster.
- Hide small treats inside the box.
- Toss in a few safe plant sprigs, such as wheat grass.
- Let your pet dig around and search for the treats.
- Change the types of treats each week to keep things fresh.
Try adding some paper scraps or small wood shavings now and then. This mix of textures mimics natural foraging and keeps your pet curious and happy.
Safe Materials, Customization, and Safety Tips for DIY Hamster Toys
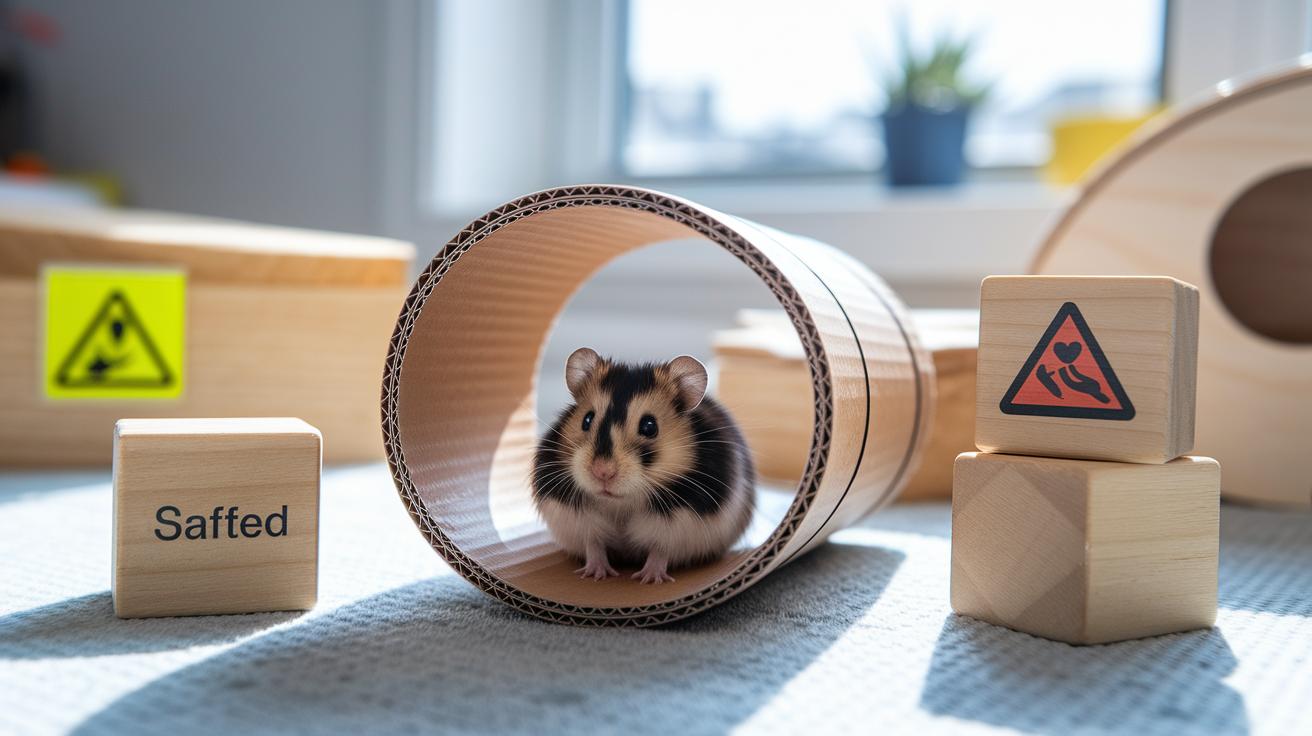
When making your own hamster toys, choosing safe materials is very important. Using pet-safe supplies means your pet avoids harmful chemicals, sharp edges, or dangerous toxins. Non-toxic, strong materials help even the most active hamster play without risk. Plus, you can tweak your design to fit your pet's needs while keeping safety in mind. Safe materials also add extra sensory fun, giving your hamster a worry-free space to explore.
- Approved substrates: plain cardboard, untreated wood, coconut shells
- Safe adhesives: pet-safe glue sticks or hot glue
- Non-toxic finishes: acrylic paint labeled "safe for animals"
- Homemade clay: a simple flour-water mix without additives
- Paper mache: plain paper with a non-toxic paste
- Natural accents: wheat grass, cat grass
- Warning signs: splintering or loose pieces
Tip: Test your toy outside the cage before playtime. Look for any loose parts or hazards. This small check ensures the toy is stable and safe for your pet to enjoy.
Advanced DIY Hamster Toys: Multi-Level Towers & Wheel Alternatives
This DIY tower gives your hamster a fun space to climb, hide, and explore. It doubles as a simple exercise alternative to a regular wheel, mixing play with a bit of exercise. We built a small Swiss-style chalet using everyday items that maximize the vertical space while offering a safe nook to relax. Using an empty Cushelle tissue box paired with tubes arranged as walls and ramps, you get a versatile setup that mimics natural burrowing. It lets your pet switch between climbing and running so they stay active and engaged.
| Part | Quantity |
|---|---|
| Empty Cushelle tissue boxes | 1 |
| Cushelle toilet roll tubes | 3 |
| Paper towel tubes | 2 |
| Pet-safe hot glue | As needed |
- Stick tube pairs together to form firm side walls.
- Secure two pairs at the front to create a solid face.
- Mount the tissue box on a stable base to hold the structure steady.
- Add ramps or platforms made from cardboard to form different levels.
- Create an alternative to a wheel by attaching a cardboard disc to a dowel.
This multi-level structure not only encourages exercise but also makes your hamster feel safe by making several zones to explore and hide in. Feel free to adjust the tube angles or add extra ramps for more variety and ongoing fun.
Maintenance and Troubleshooting of DIY Hamster Toys
Keeping your DIY hamster toys in good shape is important for keeping your pet entertained and safe. Regular checks help you catch early signs of wear, stop mold buildup, and spot loose parts that could hurt your pet. By checking your toys often, you can adjust them as your hamster's play habits change, ensuring these budget-friendly creations stay fun and secure.
- Check cardboard edges for fraying and replace them.
- Wash hard toys using warm water and gentle soap.
- Rotate toys weekly to maintain your hamster's interest.
- Watch your pet’s chewing habits to spot unsafe materials.
- Discard any toy that shows structural damage.
Watching your hamster play can offer great clues for future improvements. When you regularly inspect your toys, you help keep them safe and engaging. This careful habit not only extends the life of your DIY projects but also creates a happier, more secure play area for your little buddy.
Final Words
In the action, we dove into easy projects that turn simple supplies into fun, safe play for your pet. We showcased tissue box mazes, tube playgrounds, coconut hideaways, and multi-level towers, all built with everyday items. These ideas offer a real solution to both boredom and stress, keeping your pet engaged and safe.
These diy hamster toys projects bring creativity and excitement to your pet’s day. Enjoy crafting and watching your little buddy explore!
FAQ
Q: How can I create DIY hamster toys using everyday items like cardboard, PVC, and toilet paper rolls?
A: The DIY hamster toy ideas let you build mazes, chew toys, and wheel alternatives using repurposed cardboard, toilet paper rolls, and even PVC. These projects offer safe, fun enrichment and help curb boredom.
Q: What should I avoid putting in a hamster cage?
A: The hamster cage should not include sharp, fragile, or toxic items like rough plastics, toxic paints, or loose small pieces that could be swallowed. Choose materials that are safe and durable instead.
Q: What toys do hamsters like the most?
A: The toys hamsters enjoy most mimic natural behaviors. They appreciate tunnels for exploring, chew toys for dental health, and foraging setups that encourage burrowing and climbing for active play.
