

Ever feel like cleaning your cat's litter box is a battle? You’re not alone. Changing cat litter doesn't have to be a dreaded chore.
We put together a simple routine to help you keep your cat safe, the litter box clean, and your home feeling fresh. With a few easy steps and a bit of care, you can turn a messy task into a quick, manageable part of your day.
Follow this guide to learn how to simplify your cat litter routine and enjoy a tidier home.
Complete Step-by-Step Guide to Changing Cat Litter: Fresh Home Vibes
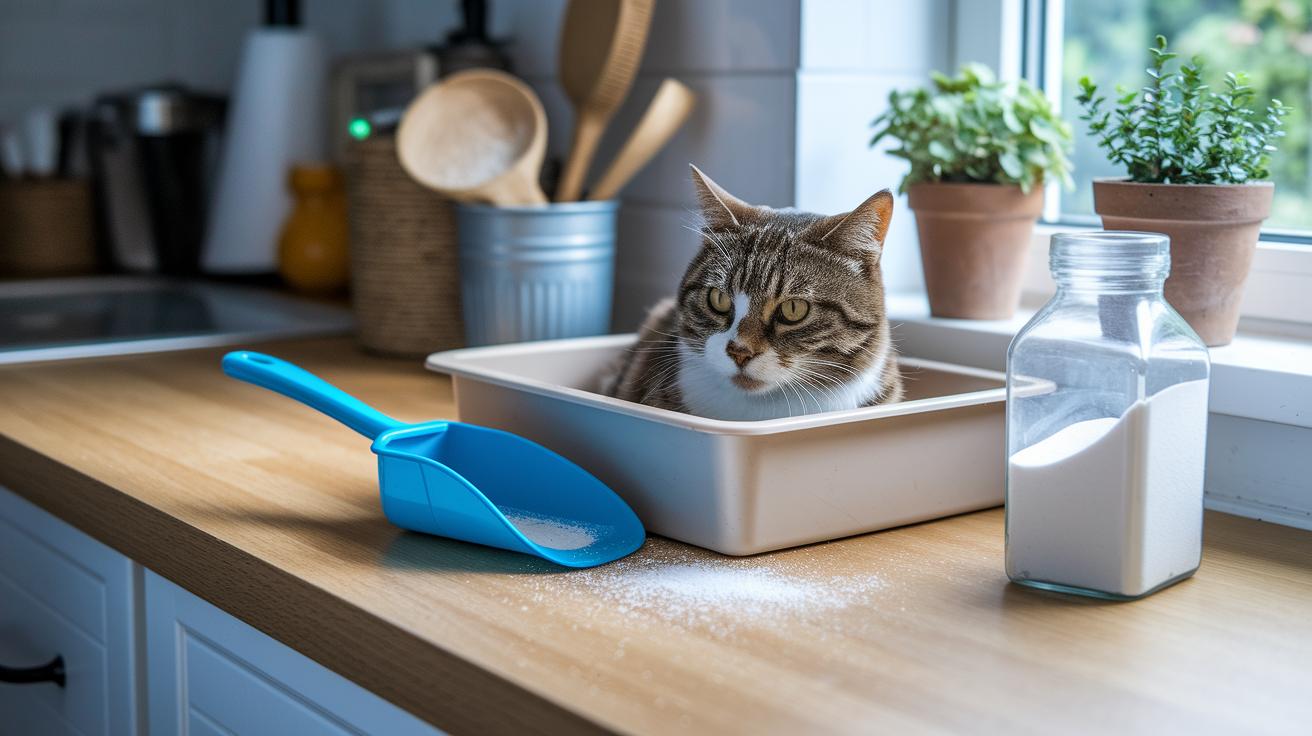
- Gather all your supplies: rubber gloves, a sturdy litter scoop, disposable liners or bags, a mild pet-safe detergent or disinfectant, a pinch of baking soda for odor control, and an optional mask. If you're pregnant, wearing gloves and a mask adds extra protection.
- Get your area ready: lift the litter box carefully to avoid spills, and place your bag or liner close by. This helps keep old litter from scattering all over.
- Scoop out the waste: use your scoop to pick up both the wet and dry bits. Toss the used litter into your bag right away. Remember, don’t flush cat litter because it can clog your pipes.
- Clean the box: once the litter is out, rinse the box with warm water. Add a small amount of pet-safe disinfectant or a baking soda solution, scrub lightly to clear any residue, then rinse thoroughly and let the box air dry.
- Transition to new litter slowly: mix a small amount of new litter with the old to keep your cat comfortable. Over a few days, gradually add more new litter until you’re using only the new type.
- Set it up: when the box is dry and you’ve fully switched to new litter, fill it to the right depth. This way, your cat has a clean and inviting spot to use.
Gathering Essential Supplies for Cat Litter Change
If you have read our Complete Step-by-Step Guide to Changing Cat Litter: Fresh Home Vibes, you already know the basics. Here are a few extra tips to make your routine even better:
- Always check your items before use. For example, look over your gloves for any small tears that might lower their protection.
- When you mix a homemade cleaning solution, try it on a small, hidden spot in the litter box first. This way, you make sure it does not hurt the surface.
- Keep your supplies in a separate spot so you can grab them quickly and keep them safe for your next cleaning.
- If you are pregnant, double-check that your cleaning agent is pet-safe and gentle. This extra step gives you more confidence in your cleaning choices.
Choosing the Right Cat Litter Type for Easy Cleaning
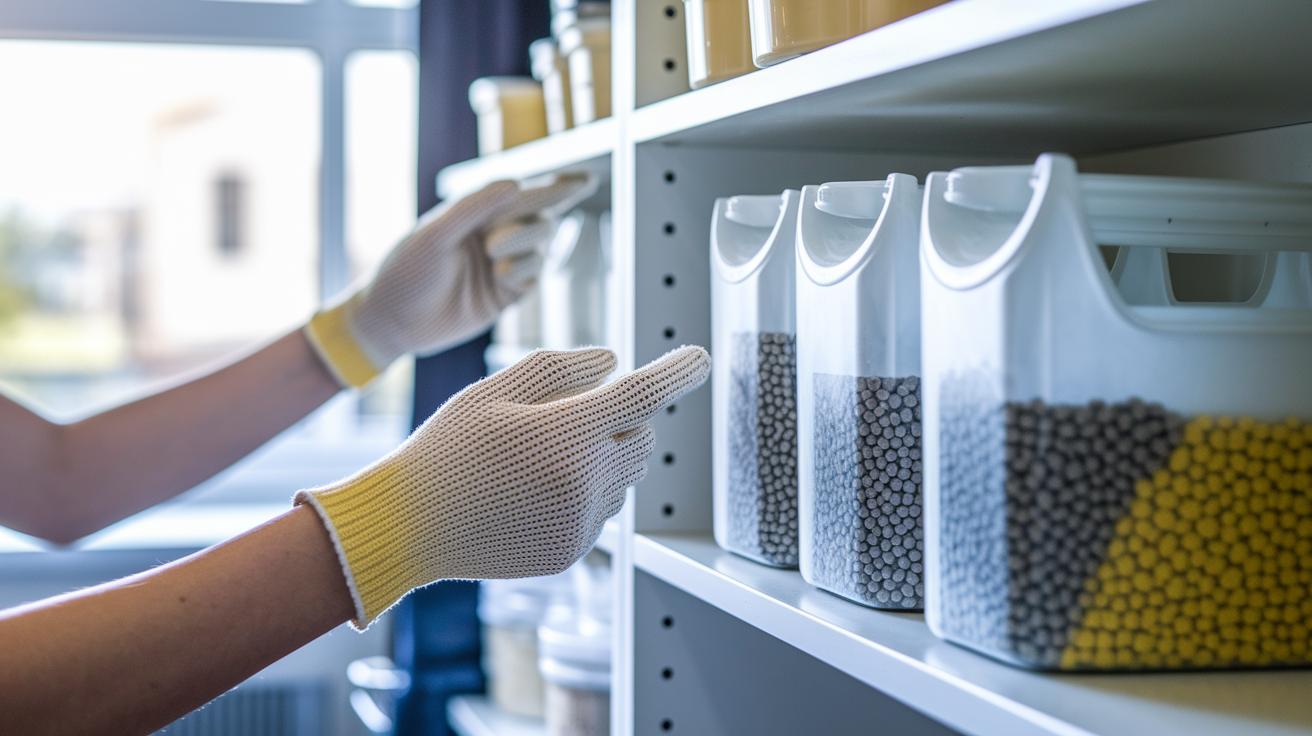
When choosing cat litter, think about your cat's comfort and how easy it is to clean. Clumping clay litter is made from bentonite. It forms hard clumps that you can scoop out quickly. It can create dust that might bother you and your cat, and it is not good for the environment. One pet owner said, "I like how easy it is to scoop clumping litter until my room fills with dust."
Non-clumping clay litter is low cost but must be replaced completely each time. It does little to control odor, so if you want less cleaning hassle, you might want to try a different kind.
Silica or crystal litter soaks up liquid well, cuts down on dust, and helps neutralize ammonia smells. This type leaves your home feeling fresher. It may cost a bit more, but many owners find the trade-off worth it. Biodegradable litters, made from paper, corn, wheat, or tofu, are kind to nature and absorb urine well. However, their ability to clump can change from one brand to another. It is a smart idea to test a small amount first to see what your cat prefers.
| Litter Type | Pros | Cons |
|---|---|---|
| Clumping Clay | Easy to scoop, controls odor | Creates dust, not eco-friendly |
| Non-clumping Clay | Low cost | Needs full replacement, weak odor control |
| Silica/Crystal | Absorbs liquid, low dust, neutralizes ammonia | More expensive |
| Biodegradable | Eco-friendly, good absorption | Clumping varies |
Establishing a Litter Box Maintenance Routine
Keep your cat's litter area fresh and safe by sticking to a simple cleaning routine. Scoop out waste every day, or twice a day if you have more than one cat, to stop smells from building up and to encourage your cat to use its box.
If you use clumping litter (litter that forms clumps when wet), completely change it every 2–4 weeks. For non-clumping litter that doesn't lock in odor as well, change it every week. Between deep cleans, add a little baking soda to help control odors naturally.
Even self-cleaning litter boxes need a quick check now and then. Although these boxes extend cleaning time, a brief manual scoop and inspection will make sure nothing is left behind.
A steady cleaning schedule not only makes your job easier but also creates a safe and inviting space for your cat.
Key Points:
- Scoop waste daily (twice for multiple cats)
- Replace clumping litter every 2–4 weeks; non-clumping litter weekly
- Sprinkle baking soda between changes for odor control
Regular upkeep keeps your home fresh and your cat comfortable.
Implementing Odor Control and Hygiene Strategies
We already scoop daily, sprinkle baking soda over fresh litter, and change or wash liners as needed. You can take it one step further by wiping the floor around the box with pet-safe wipes. For instance, after a small spill, a quick swipe with a pet-safe wipe stops odors from lingering.
Try using low-dust litter too. It cuts down on the dust you track around, keeping the area even cleaner. These extra steps blend right in with your routine to keep both the litter box and nearby surfaces fresh and hygienic.
Troubleshooting Common Issues During Litter Change

When you change your cat's litter, mix the new and old litters slowly over about 5 to 7 days. For example, one pet owner said they started with a blend of 10% new and 90% old litter, and their cat adjusted over time. If your cat seems unsure or avoids the box, it might be because the switch was too sudden. In that case, go back to mostly old litter for a day or two before trying a more even mix again.
Start by placing two litter boxes next to each other. This way, your cat can choose between the familiar litter and the new type safely. One pet owner mentioned that using two boxes made the switch stress-free because their cat could pick the one it liked best.
Place a mat under the boxes to catch any loose litter. The mat helps keep the area neat and free from extra dust, which might also help your cat feel more comfortable moving around.
- Watch your cat closely
- Change the mix if your cat shows signs of stress
- Keep a second box handy until your cat consistently accepts the new litter
Follow these easy steps for a smoother transition and a cleaner area for both you and your cat.
Exploring Automated and Eco-Friendly Litter Systems
Self-cleaning litter boxes have moving parts that sift out pet waste on their own. They follow the maker's guidelines, so if you choose a crystal-based model, check the instructions for when to refill the crystals (small pieces that absorb moisture). These models keep the box cleaner for longer, but you must add fresh crystals as directed.
Eco-friendly options work well too. Wood and paper pellet litters break down faster and create less dust. They are a smart pick if you want a greener, low-mess solution. Plus, these pellets reduce the dust that can bother both you and your pet. One pet owner said the pellet litter makes cleaning easier and keeps the home smelling fresher.
To help your cat adjust, try placing a pellet litter box next to your current one for a week or two. This slow change lets your cat get used to a new texture and cleaning style without stress. When your cat seems comfortable with the pellet litter, start removing the old box. This gradual switch keeps your pet's routine steady while you enjoy a modern, eco-friendly cleaning system.
Final Words
In the action, we walked through a clear, step-by-step guide to changing cat litter. We covered gathering safe supplies, choosing the right litter type, and setting up an easy cleaning routine. You learned practical tips for managing odors and handling common issues while ensuring kitty stays comfortable.
By following these instructions on how to change cat litter, you can keep your cat’s space clean and inviting. Enjoy a cleaner home and a happier pet every day.
FAQ
Q: How to change cat litter reddit
A: Changing cat litter as shared on Reddit means gathering your supplies, removing old litter, cleaning the box thoroughly, and gradually mixing in new litter so your cat stays comfortable through the change.
Q: How often to change clumping litter box
A: Changing a clumping litter box every 2–4 weeks while scooping waste at least once daily helps keep odors in check and maintains a clean setup for your cat.
Q: Is it bad to change cat litter brands and how to change cat litter brands
A: Changing cat litter brands isn’t bad if done slowly. Start by mixing a small amount of the new litter with the old, allowing your cat time to adjust without stress.
Q: How to scoop cat litter box
A: Scooping a cat litter box involves using a sturdy scoop to remove clumps and waste daily. This practice supports odor control and overall cleanliness in your pet’s space.
Q: How often should you change cat litter for two cats
A: For two cats, scooping waste twice daily and fully replacing the litter every 2–3 weeks keeps the litter box fresh and reduces unpleasant odors in the home.
Q: How often to change cat litter crystals
A: Crystal litter, known for absorbing moisture and neutralizing ammonia, should be scooped daily with a full change every 2–4 weeks to maintain peak performance.
Q: How often to change cat litter non clumping
A: Non-clumping litter requires a full change weekly, as it does not form clumps efficiently. Daily scooping of solids helps improve odor control between changes.
Q: Can you put new litter on top of old litter
A: Placing new litter over old litter can confuse your cat and reduce odor control. It’s best to completely remove the old litter and then refill with clean, fresh litter.
Q: How to transition a cat from one litter box to another
A: Transitioning your cat to a new litter box requires a gradual switch. Start by placing both boxes side by side, then slowly encourage your cat to use the new one over time.
